TUTORIAL ON OOAK DOLL EYES (GLASSY LOOK)

I am trying to develop my own website and I was going to put this tutorial on my new website but I figured I would just get it out there and go from there. I have researched all of the eye tutorials on the web and they are all wonderful and I have tailored it to what works best for me.
This is a WIP/tutorial. This is my VERY first tutorial, so I hope I do things right. I understand this may not work for everyone. If you have any ideas or advice, please let me know. I will try to include where I get certain products (incase you would like to know). Here are most of the supplies I use:


I have rub-on decal paper with adhesive
white cernit clay
Aleene's tack it, over and over glue
tweezers
heat gun
note card
baby powder
whole punch cutters
lisa pavelka's "magic-gloss"
lisa pavelka's fluorescent light (can use any type or brand as long as it is a 9 watt UV light)
eye sizers that I got from website http://www.patmoultonsbabycollection.com these are awesome!!!! I recommend them to anyone that is serious in making their own eyes. I am not affiliated with Pat Moulton in anyway, I just love these sizers.. they come in all different sizes.
I print off eyes onto the rub-off transfer paper. I then get the eye sizers and clay.


 |

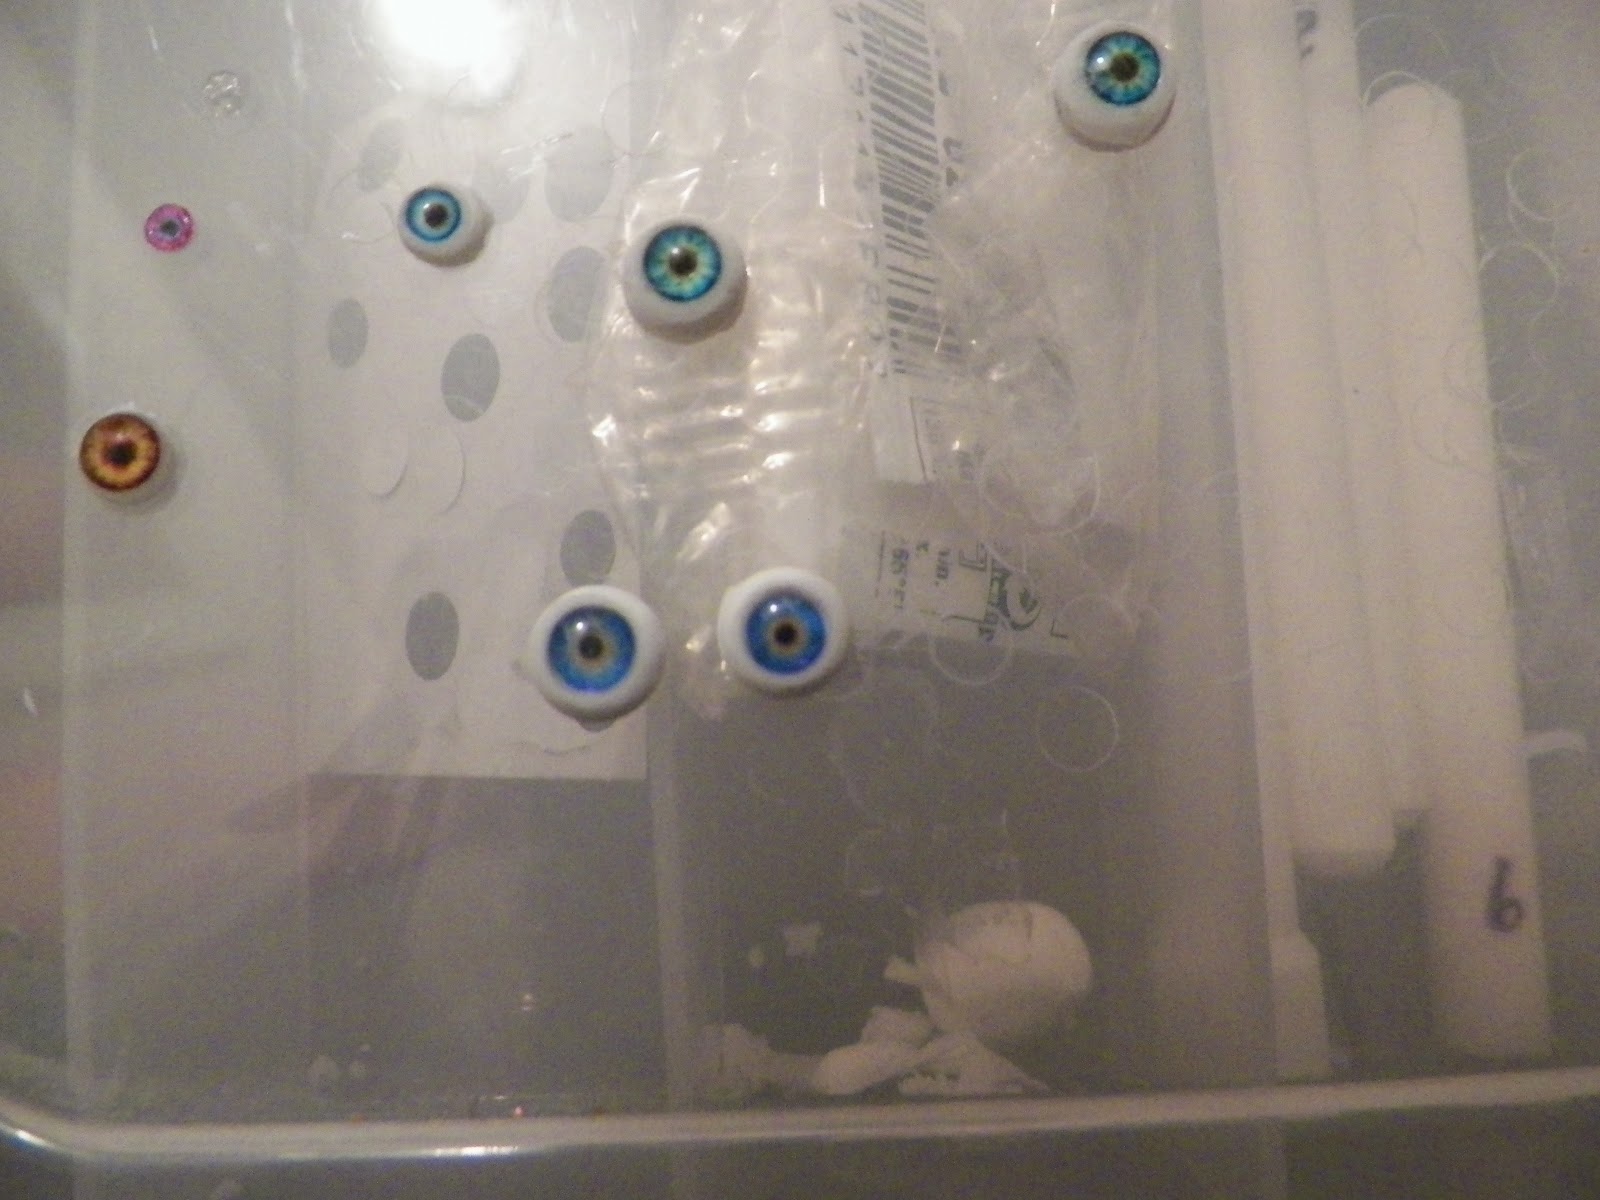
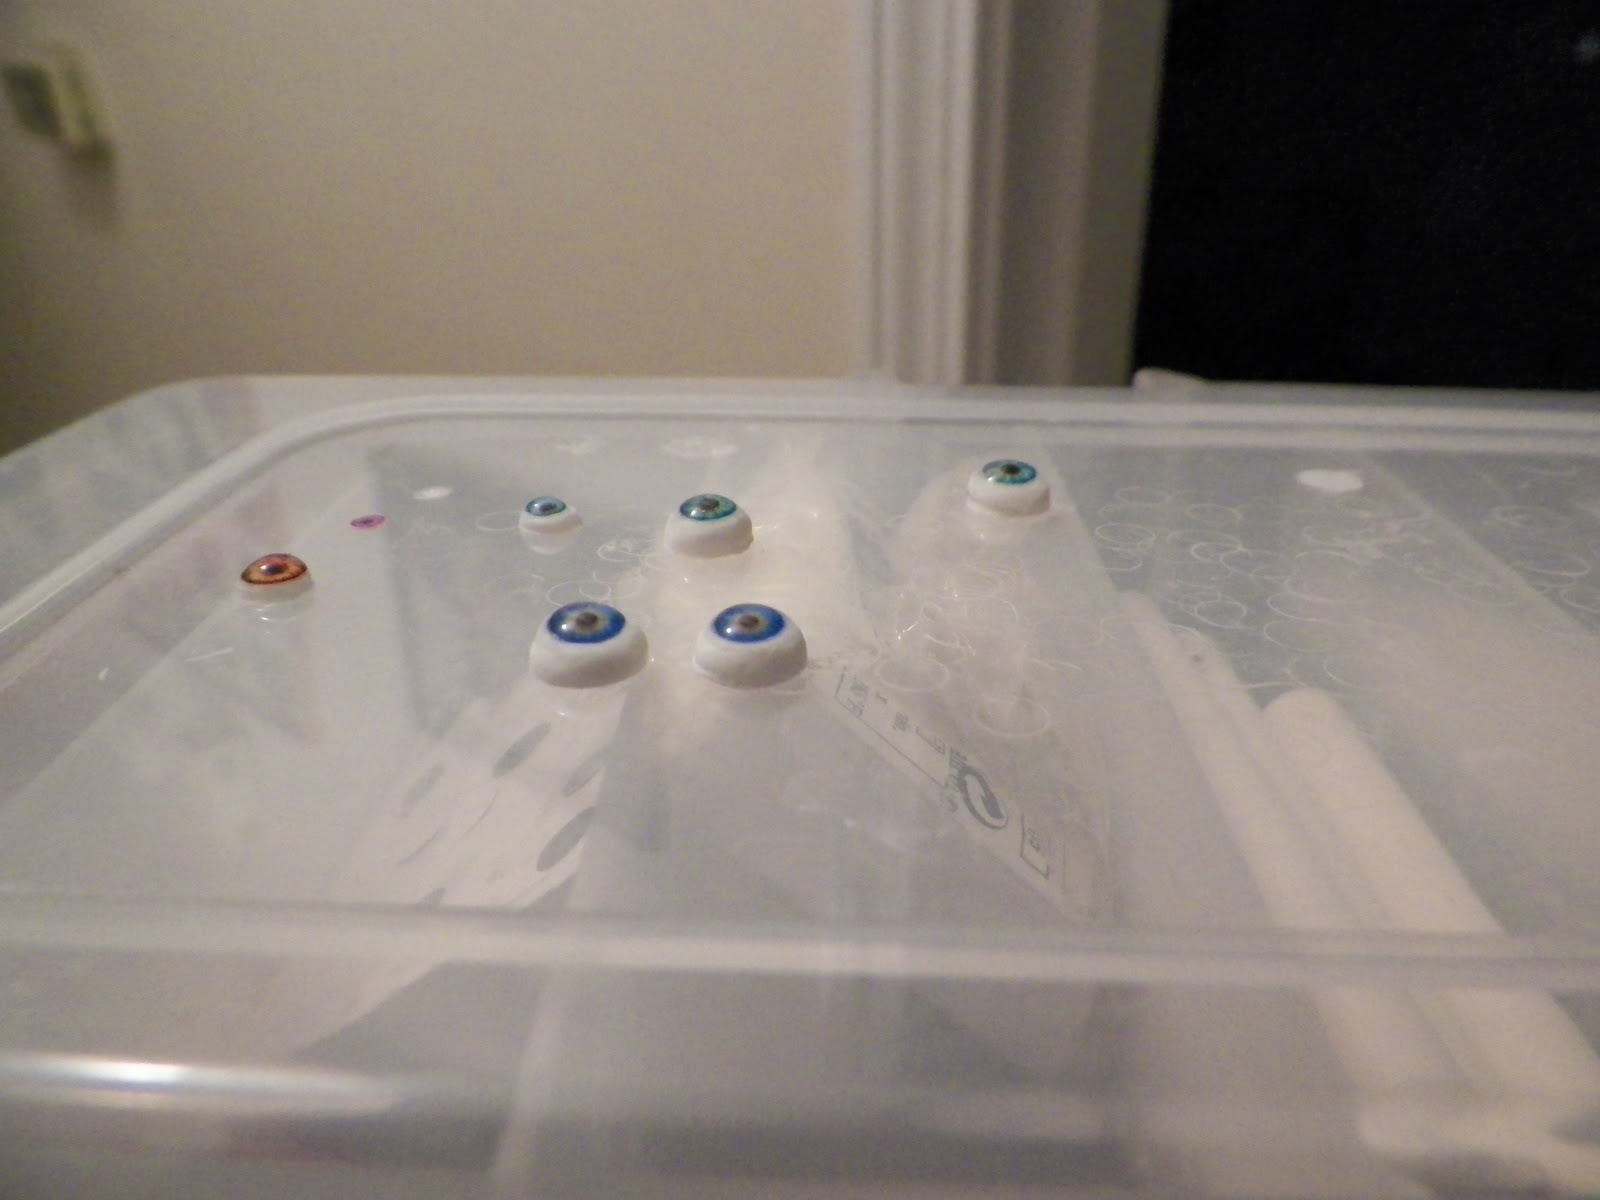
 Here is what they should look like in the picture below.....
Next take you whole punch ( use the size that is closest to the pupil size I want so I make a perfect cut) once it is cut it should peel off from the back like a sticker)

Then, the rub on decal paper should come with a separate paper that is the adhesive. If you see in the picture below, I cut a square out of one of the adhesive paper and use a whole punch one size bigger than my pupil size (I cut pupil out with size 4mm and then cut the adhesive out with size 5 mm) and peel off the back/white part and place the pupil I cut out (placing it with side with ink up) onto the adhesive and rub it to make sure it sticks really well and there aren't any holes. See below, I am holding it with my tweezers. I hope you can see it ok. Please comment me or message me if you need me to explain. Like I said, this is my first tutorial. :)

I then peel off the pupil from the adhesive paper. see below....

Then place it the pupil onto the clay eyes and press into the clay slightly making it dip in a bit. I sometimes use a small dab onto the middle of clay and then place pupil on there. Next, use your heat gun CAREFULLY until clay is hardened. Be careful with this part. Also, do this in a well ventilated area.

Then, (making sure air bubbles are out) apply a small amount of Lisa Pavelka's, Magic gloss onto the eye (making it look like a lens. to check if it has a nice lens on it, view it from the side). make sure all air bubble are out. Then place under the UV light.


See the picture to the left, they have pretty good lens on them and now it is time to put them under UV light.
I usually leave them under the light for about 15 minutes.I then leave them alone for a couple of hours because I find that if I don't it leaves fingerprints. If anyone knows a better way or how to avoid the prints better, please let me know.

That is it! I really like using the rub-on decal paper because it is thin enough. I usually paint them or use transparency paper but it was thick (it still works though) I just like the rub on better. This is just a way that I do them and I thought I would share with people. I am still new to sculpting and posting and such, so bare with me. I enjoy this craft so much and I know that when I started or am not sure how to make something, I am so please and thrilled when I find generous people that put tutorials on the web for people because I have needed them and appreciated them so much. Please feel free to give me suggestions. I am going to include at the bottom of my page links to some of the supplies that I use in this tutorial in case you were needing them or wanting to know where to get them. Some day I will get my website going once I get used to all this and figure out how to do it.
Also, please follow my blog and post pictures of your eyes if you like my tutorial or if you have other ways you do them too. :)
Can they go in the oven if you put the eyes on a unbaked figurine
ReplyDeleteyes, they can go in the oven. Mine were just fine in the oven. Thanks for stopping by.
ReplyDelete