Sunday, September 21, 2014

Free Minecraft Chore Chart & Award System with Printables

Hello,


When it comes to chores in our house, it becomes a CHORE to get them to do chores-pun intended! They would rather play Minecraft all day long or just play all day long! Not only do they NOT want to do chores but they also think they should bet a toy everyday and in-between that comes candy every time we walk into the store. I had to figure out a system to get them to do their chores and make it a bit fun too. They need to learn responsibility in this world because you have to work for what you want.

Yesterday, my 10 year old says, "mom, can I have this new star wars lego toy? It only costs $99." I said, "uh, no but you can save your chore money and buy it that way." He says to me-just as serious as he could be, "all you got to do is go to the bank and take it out or write a check and get money anytime you want." um.....yeah.....it doesn't work that way. The bank does not just give you money, you have to earn it and then put it in there. If only the world worked that way!

So, my 7 year old really has a hard time doing chores. He spends more time complaining about doing them then the time it takes to actually do the chore. So I had to come up with a way to motivate them and I asked them for their opinion and we went from there. It has been our second day and they actually race to finish their chores first and they want to do a good job. As soon as they get home, they can't wait to do them. Let me explain a little further because just a chore chart isn't magically making them do their chores....I had to get a little creative! Please read on...

The chart:

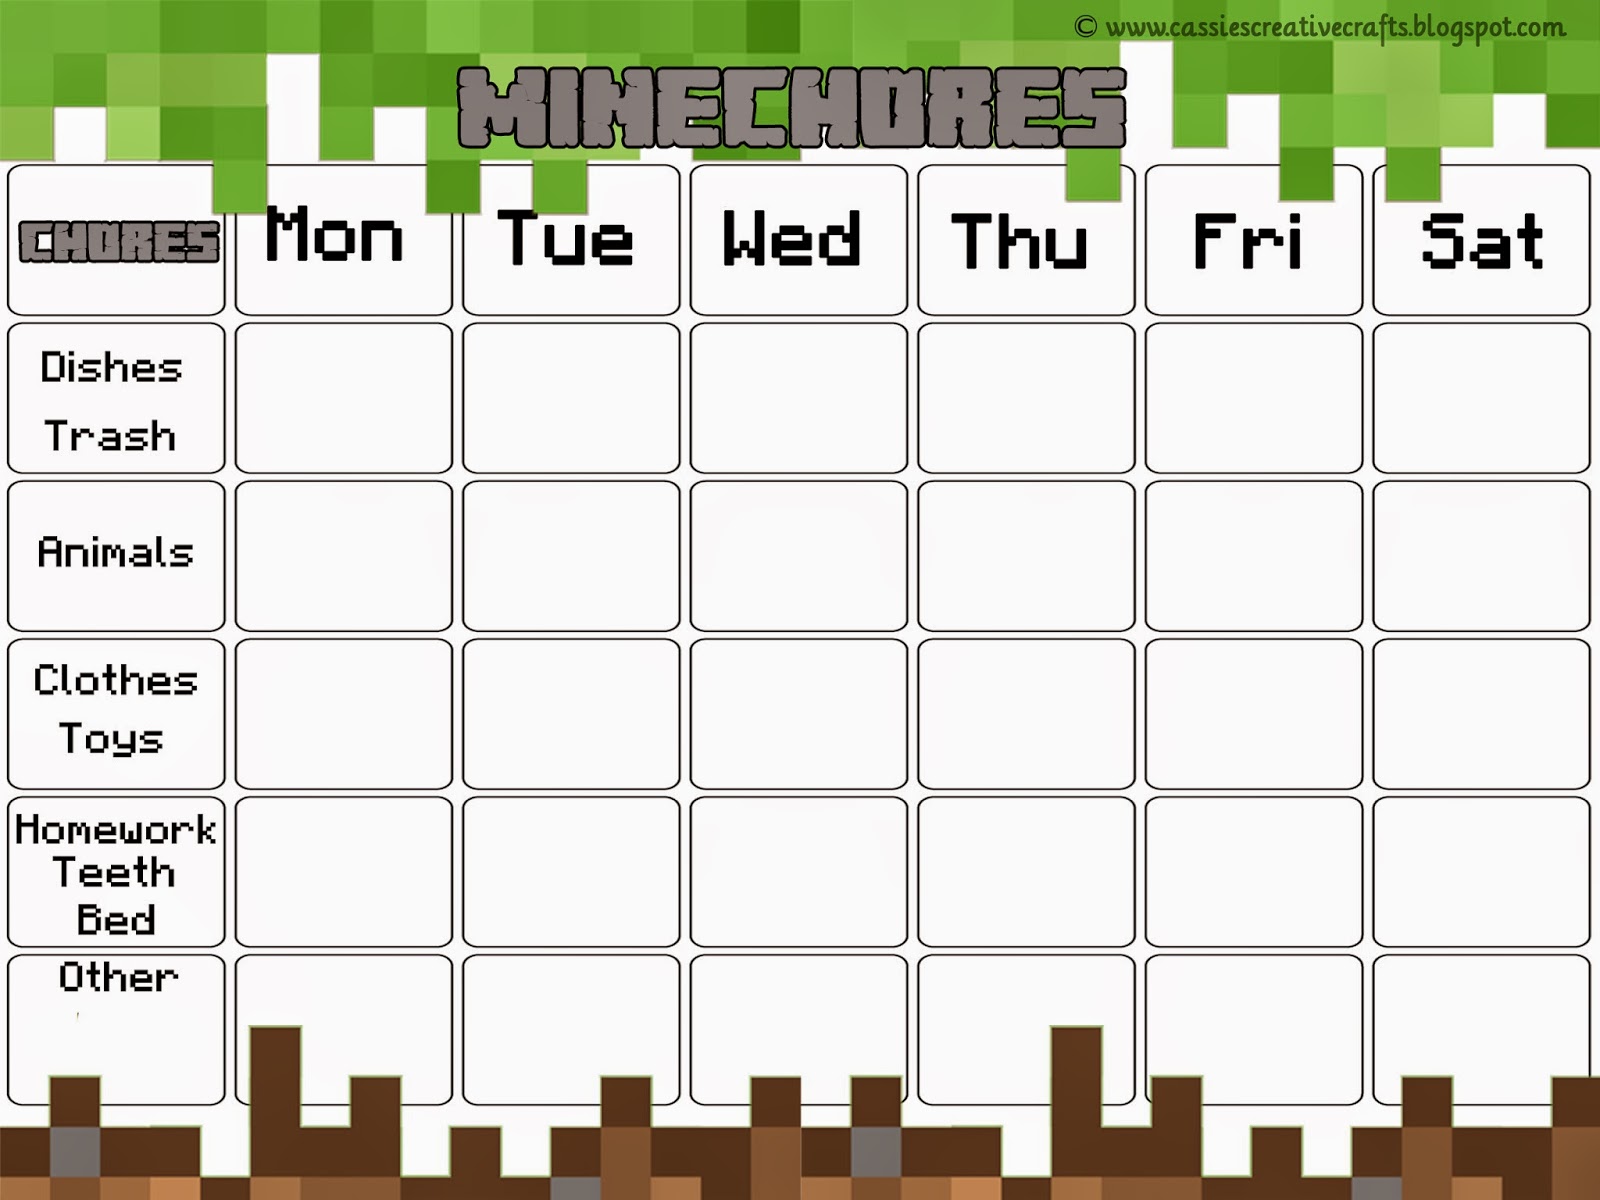
My version of a Minecraft chore chart called: (Minechores)

The Theme:

Obviously, Minecraft!

How it all goes down:

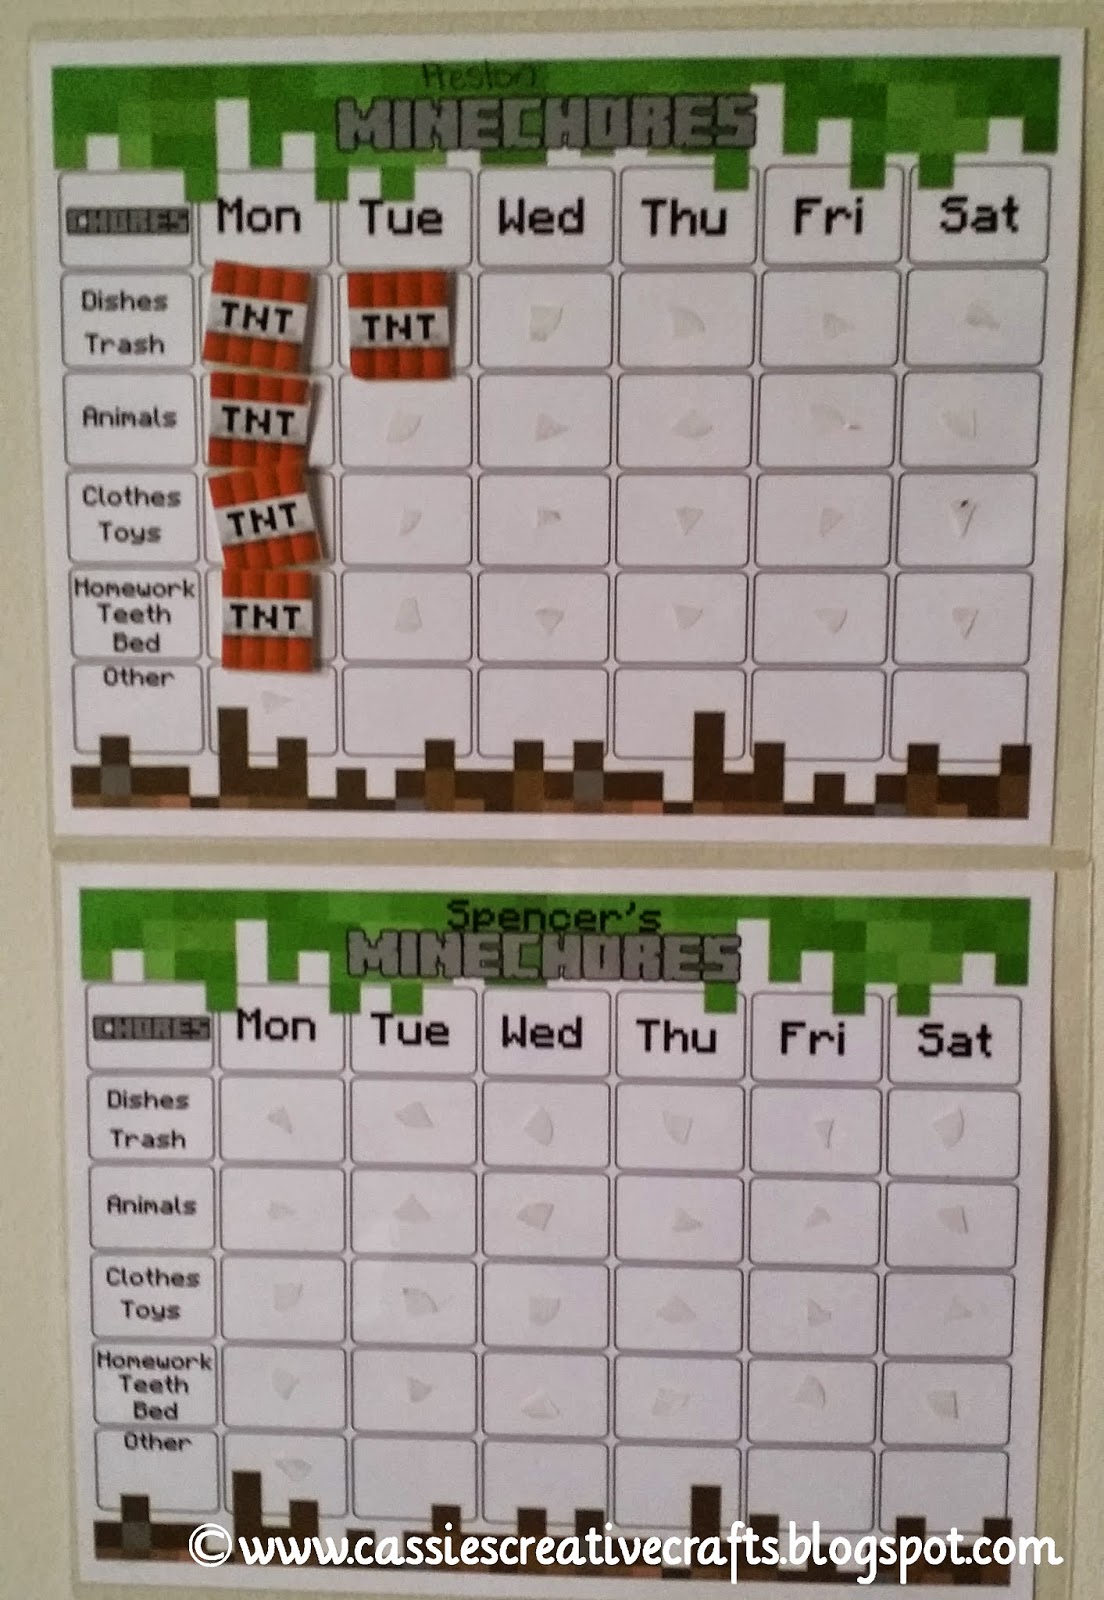
If they finish all of their chores and do them correctly, they place a Minecraft TNT block next to the chore they completed...or BLASTED (hence-TNT) haha...they loved it!

Then if they finish all chores for that day and have the day full of TNT blocks, they get a stick or iron ingot to place in their inventory. I have printed and laminated a picture of the actual inventory in the game and printed out a crafting table and taped the inventory on the craft table. In the game, you click on the craft table and your inventory pops up.

Then, on the last day of the week (Saturday) if they have crafted their iron pickaxe (the pickaxes, I made 2 of them out of foam board and printed it out and glued it on both sides but they can't use them until they have done all chores for the week and have crafted one), then they get to "Mine" for their surprise! They are EXCITED about this part. I cut several holes in a big foam board and then covered the holes with the blocks from Minecraft and on the other side of the foam board "the back" I have attached little paper sacks with various surprises in them (money, coupons (I made up), toys they were wanting, etc.) in those boxes and then they get to use the pickaxe they crafted to Mine for their awards. The only get to pick one block to "mine" from for that week. This idea I got from ACasarella and she called it a "punch box" which was used for a birthday party. I thought this would be great to do as a Minecraft Mining to go along with a chore chart.

So far, the kids have done well with their chores! We had a great week and they got to Mine a block and LOVED it! They literally could not wait to "mine". They even came home on Friday afternoon and did their home work without griping about it! Can you say........awesome????

Ok, here are the pictures and an explanation of how we did it. I will also have the links for some of the things I made so you will be able to have your own Minechore chart too.

Below is the chart I made and you can find the download link below it. I found the blank template that just had boxes that I used at My Digital Studio. I tailored it to the way I needed.

Then I downloaded the Minecraft font for free at Dafont. There is the chart below. Is is only Monday thru Sat. because I let them have Sunday off of the regular chores (besides brushing teeth and bedtime and animals-they do on Sunday too).

Copyright Cassie's Creative Crafts

You can download the rest of the stuff at the end of the post...

So in the chart above, the boys place a TNT block that I made and laminated in the square next to the chore they completed....see below...


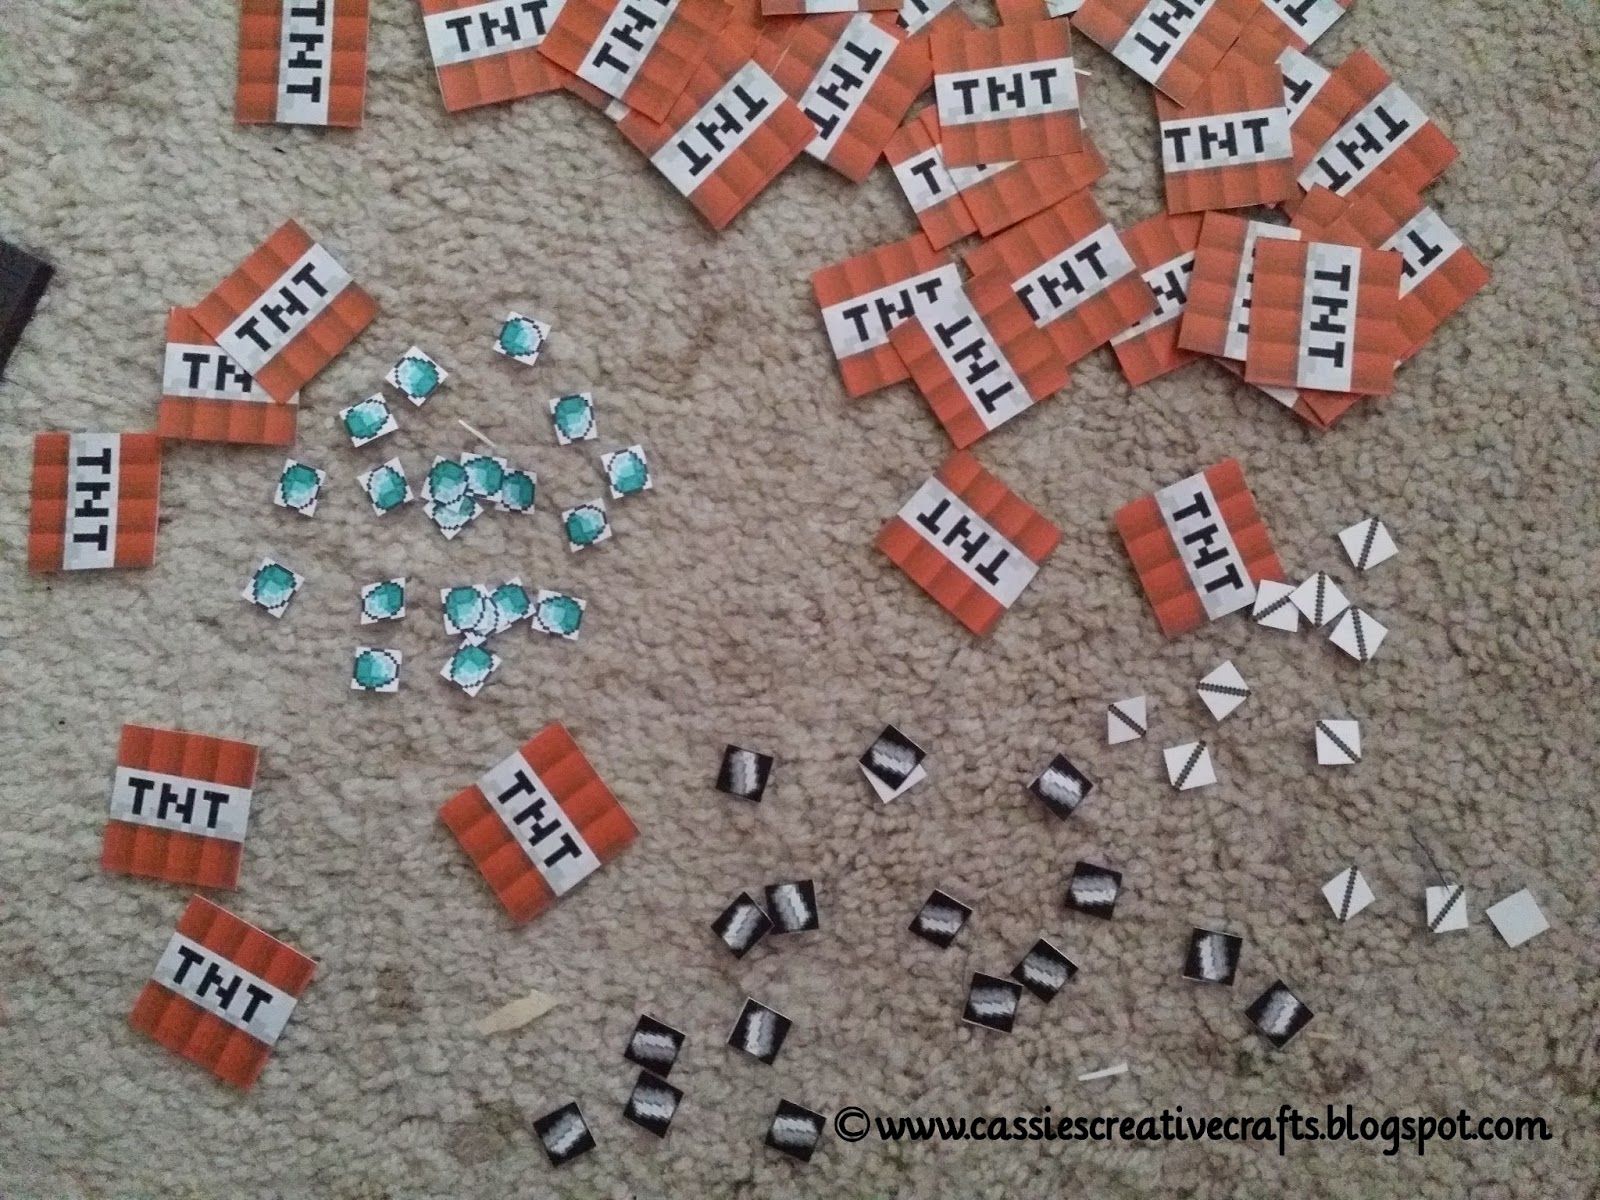
Above, is the blocks of TNT cut out, along with the supplies (iron ingot, sticks, diamonds) to craft their pickaxe. The TNT goes next to each chore that they finish and once they do every chore for that day, I give them a stick, diamond, or iron ingot 

Then, they place their iron or stick or diamond (whichever they got for finishing their chores for that day) in their inventory that is on their craft table...see below


In the picture above, next to the chore charts, you see the craft table with their inventory. I have put velcro on the squares and when they finish a days worth of chores then they get one supple that goes towards their pickaxe. See below...


See above, in order to craft a pickaxe, you need two sticks and three iron ingot or diamond (whichever they want) so that is five days worth of chores and then on the sixth day they craft their pickaxe and that is when I give it to them to "Mine" their prizes. I let them have sunday off. 

Below is the "Mine" board where they pick one block to "Mine".


Here they are getting ready to "Mine"...


If you have any questions, please let me know. I hope you all enjoy the free printable!

I would love to see what you all do with it!


#printables #freebies #minecraft #chorechart #minecraftchorechart


Sunday, August 17, 2014

Craft Supplies Storage Idea:Fun and Cheap


I have always heard of the saying "One man's trash is another man's treasure" and when it comes to my crafts, I live by this saying. No, I promise, I am not crazy, nor do I go dumpster diving every Friday night either...hmmm...that gives me an idea, just teasing.

I wanted to share with you how you can save money at the same time becoming innovative as well as green by recycling. WOW, that sounds empowering! Well, it is true! When it comes to crafts, I am constantly looking at items and trying to figure out how I could use it in my work. I love using certain items people are going to throw away to make dollhouse miniatures, various crafts with my boys, plus many more ideas.

For instance, did you know that Popsicle sticks can be used in a variety of crafts as well as in the miniature world? I use them in several ways; just to name a few: dollhouse siding, dollhouse wood floor, dollhouse furniture, dollhouse wooden crate, dollhouse roof, plus so many more!!! They even sell them in the craft stores...but why do that when you can have your cake and eat it too (and by cake, I mean Popsicle), plus you are keeping that much more out of our landfills. Who knew you could save the world one Popsicle stick at a time!!! :)

So today, I am sharing with you one way you can turn and everyday spice rack into an ultimate craft supply storage organizer. So if you come across one that you don't want anymore or you found at a garage sale or maybe a friend is wanting to throw it away or sell it snatch it up because there are many things you can do with it. I am going to show you a few today...
Storage ideas copyright Cassie's Creative Crafts
Copyright Cassie's Creative Crafts
Storage ideas copyright Cassie's Creative Crafts
This is the spice rack that my friend gave me. It spins and the if you see below, the tops come completely off. You can put most any small things inside them and store them. Plus, they are clear and I can see what I want!
Storage ideas copyright Cassie's Creative Crafts


Storage ideas copyright Cassie's Creative Crafts
Storage ideas copyright Cassie's Creative Crafts 

Storage ideas copyright Cassie's Creative Crafts


#craftstorageideas #crafts #trashtotreasure

Saturday, June 28, 2014

Minecraft Shrinky Dinks Craft Tutorial

All rights reserved copyright cassie's creative crafts
Copyright Cassie's Creative Crafts
Hello, I want to share another Minecraft craft that you can do with the kiddos. So how does one get so attached to this game, you ask? Well...play the game and you will see. It really teaches the kids motor skills.

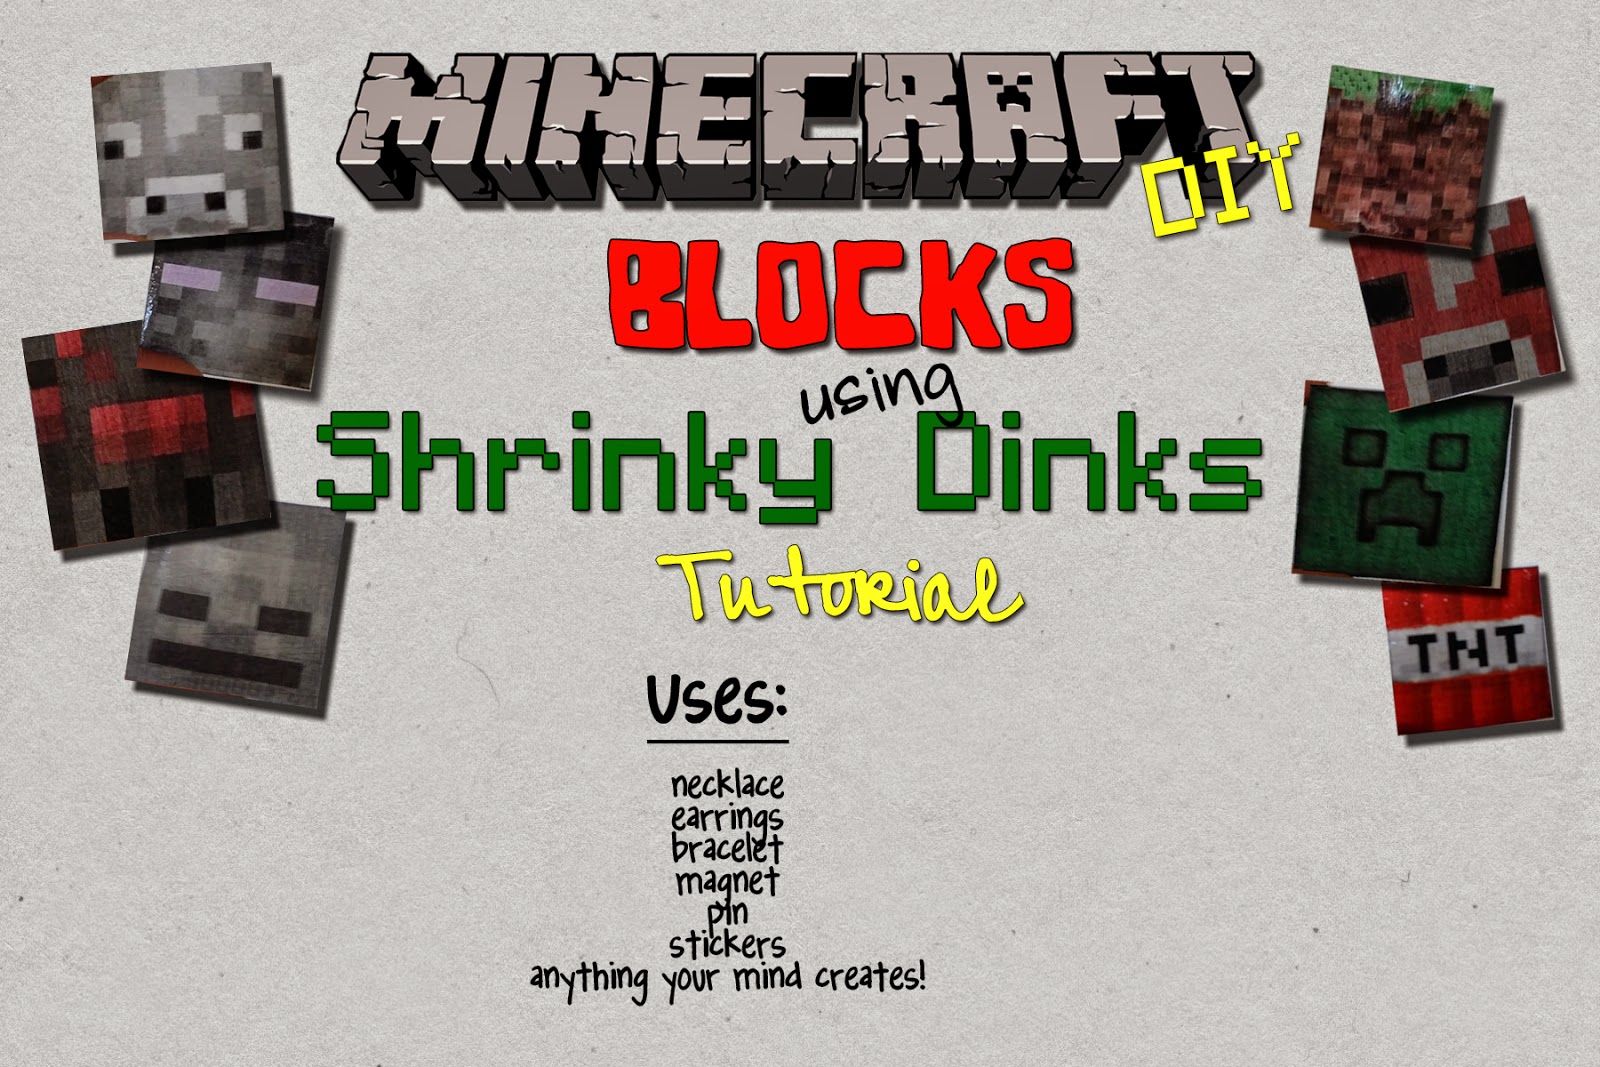
So, today we are going to talk about how to make Minecraft Blocks using shrinky Dinks. You can use your finished product to make so many items, for instance, you can make a charm for a necklace or bracelet, they can be a magnet, a keychain, or even earring, plus so much more! We are making magnets and keychains with ours.

Supplies
  • printer (make sure you set your printer settings to its correct settings for the shrinky dink paper)
  • Shrinky Dink Paper that you can print on with inkjet printer (there are many kinds, I used the one below)

  • Sandpaper
  • oven or heat gun (not hair dryer!) Heat guns are made to work with crafts. See the one I have below...


  • accessories (keychain, chain for necklace, magnets, etc.)
Getting Started

  1. You need to sand the shrink dink paper really well. *some shrinky dink paper doesn't need to be sanded but I think that if you are wanting to print on it then it needs to be sanded.* sand it really well up and down and then side to side and I do this a couple of times. (The sanded side is the side you will print on and so it needs the texture but the sanding needs to be evenly sanded and no shiny areas of the paper showing through.
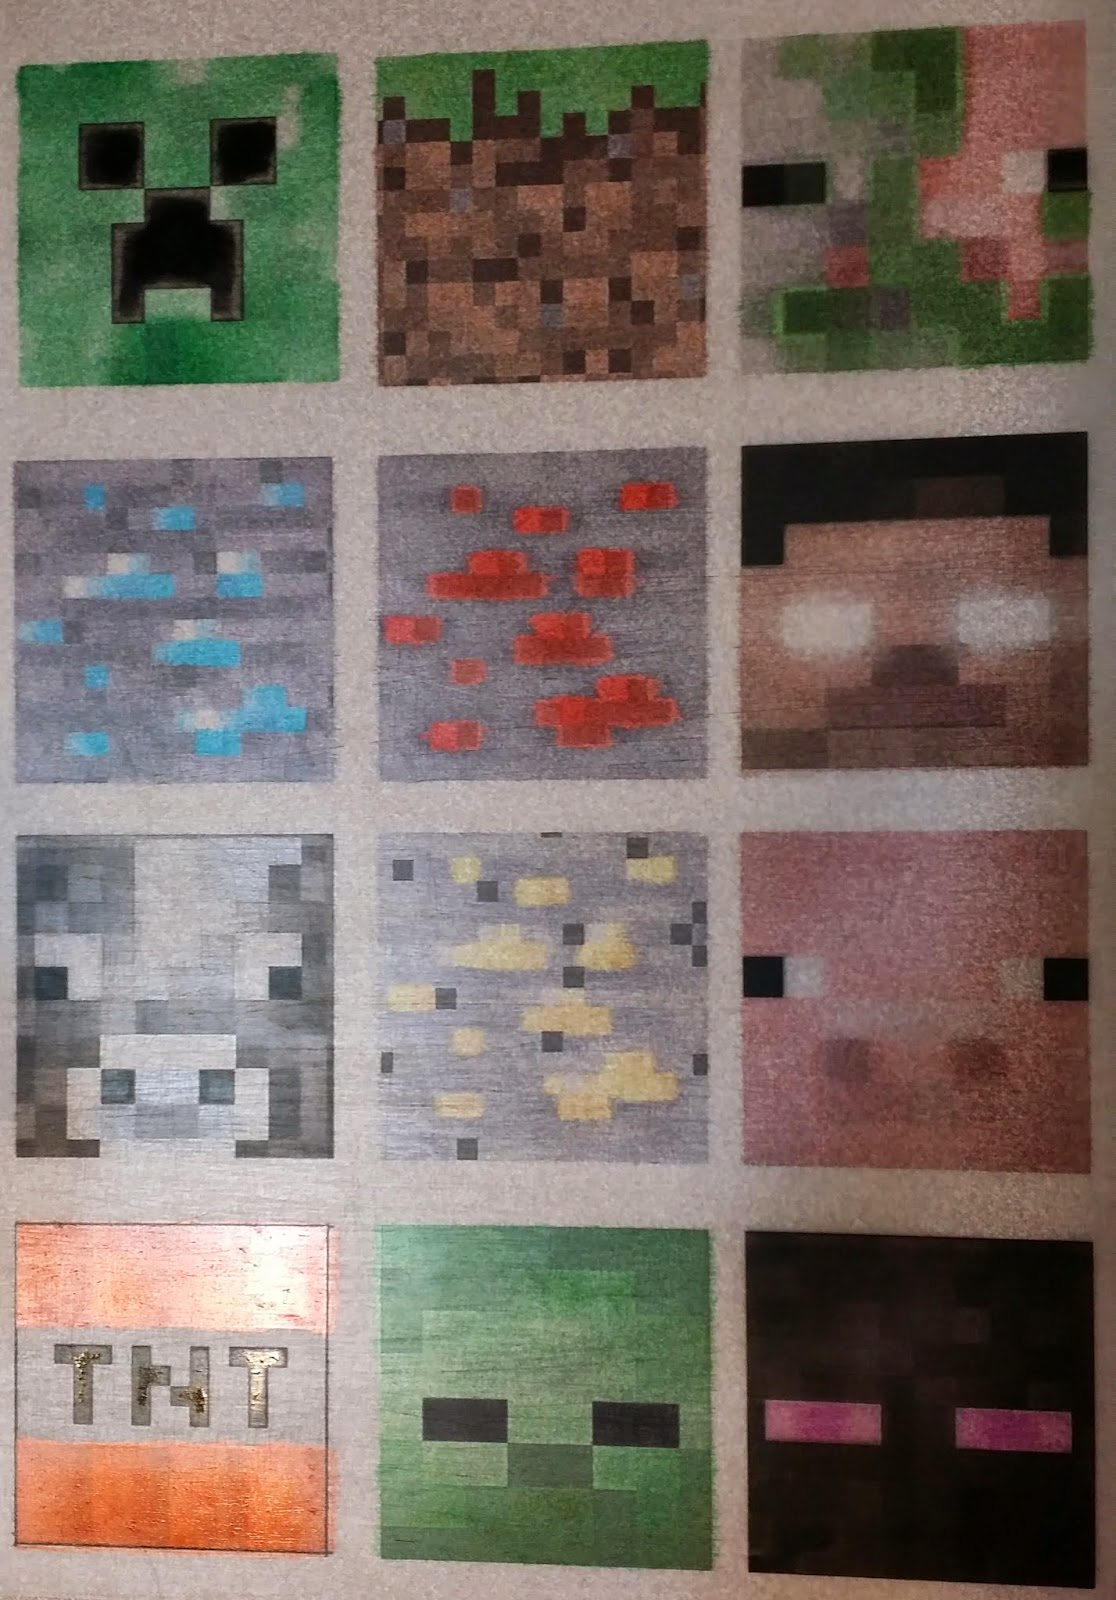
  2. Once it is sanded and you have cleaned it off, you can now print the blocks of your choice onto the paper. I have included some of the blocks we used if you want to download them.
*note* I do not claim these Minecraft images as my own. I downloaded them from the internet and can give you the places and websites of where I got them from. 

property of cassies's creative crafts

*They appear big when you print them but they shrink to about 1 inch or a little smaller*

property of cassias creative crafts
Here is what they look like printed on the shrinky dink paper! pretty cool, huh!!
Depending on which blocks you print, sometimes the detail doesn't show, but the ones above worked out well!

After you print them, I would allow them to dry for several hours.
After they are good and dry, then here is where you want to make a whole if you are going to make a keychain or jewelry.

Next, we but them out and then used the heat gun CAREFULLY to shrink them. *If you use a heat gun, don't freak out if the the blocks start to curl up into a ball. That is NORMAL. Keep using your heat and it will straighten out. 

*They also curl up in the oven too but we don't usually see that. There are directions on the packages on how long to heat them in the oven. PLEASE FOLLOW DIRECTIONS. 

Then, we LIGHTLY and VERY CAREFULLY sprayed them with a varnish-keeping the spray at least 12 inches from them and do not allow them to get fully wet from the varnish because the ink will run! We learned that by mistake. :) 

Then, you are ready to make what you want out of them.

They are so much fun and really hold a lot of detail in them once they shrink. 

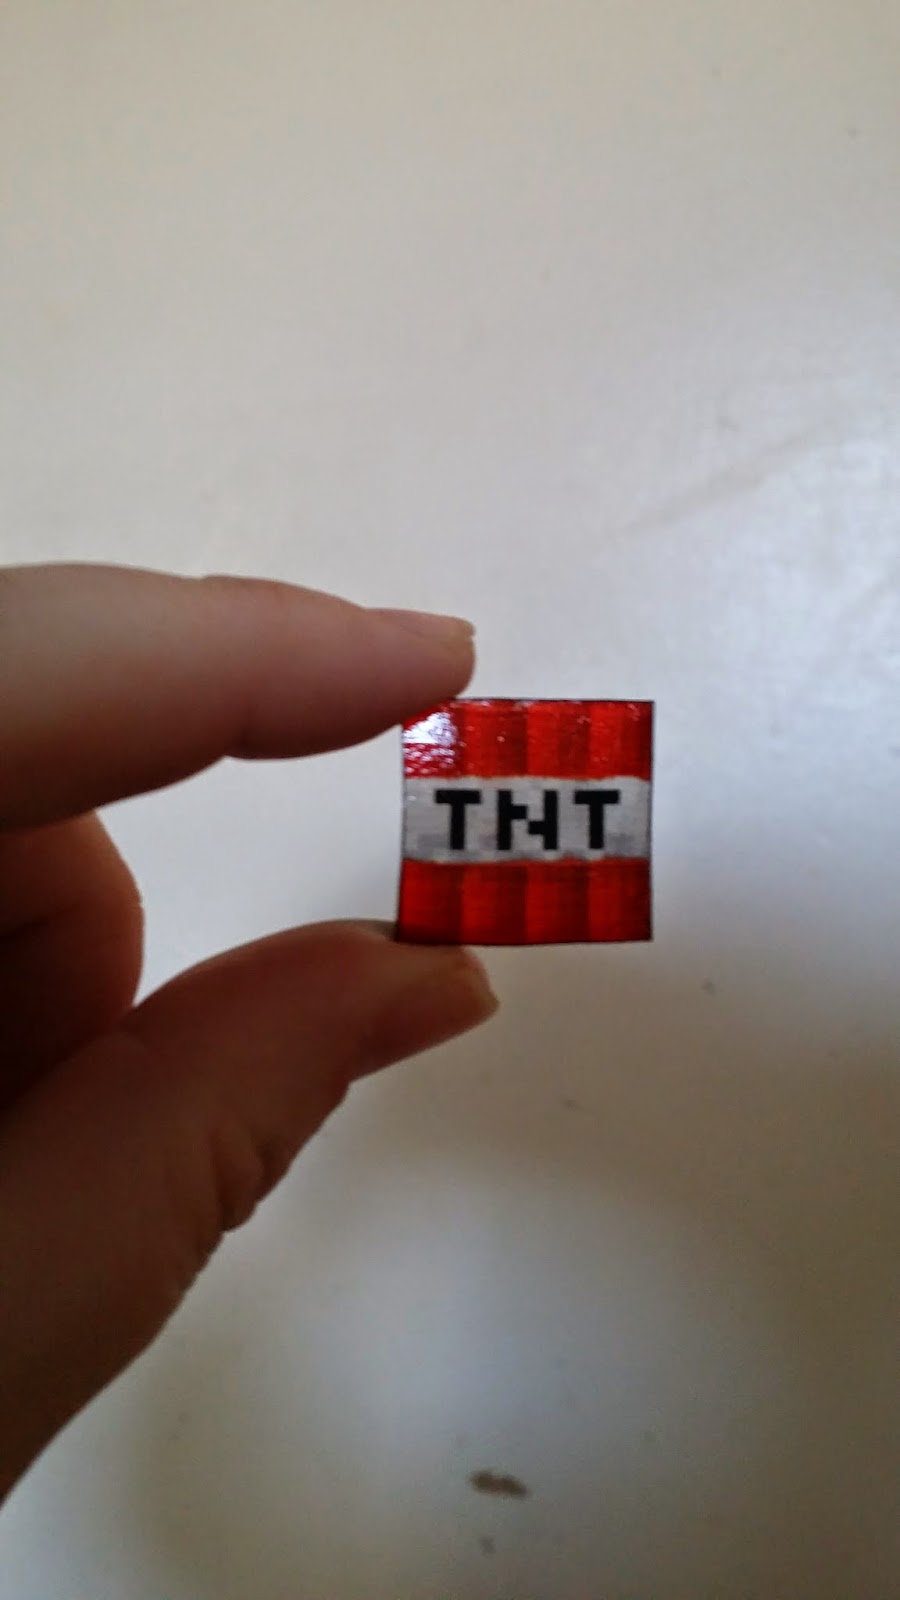
See below of some of the finished ones that my boys and I made. We were pretty happy with how they turned out. I really liked the creeper one too but it got ruined because I put too much varnish on it at first.. The TNT block was one of my favs too. So, I hope you enjoy this project as much as we did making it because it really is fun, unique, and craft!
property of cassia's Creative crafts
Above, is the grass block we made...property of cassie's creative crafts
property of Cassie's Creative Crafts
Cow we made w/ Shrinky sinks. copyright Cassie's Creative Crafts


property of Cassie's Creative Crafts
Above, is the cow that we made. copyright Cassie's Creative Crafts

Property of Cassie's Creative Crafts
Here is the TNT block we made. copyright Cassie's Creative Crafts

Property of Cassie's Creative Crafts
Above, is another picture of the TNT block we made. copyright Cassie's Creative Crafts

Property of Cassie's Creative Crafts
Here is the Enderman we made. Property of Cassie's Creative Crafts

property of cassies creative crafts
Here is a spider that we made. Property of Cassie's Creative Crafts


Well, I hope you enjoyed this tutorial. I would LOVE to see what you did with it and what you made out of them!

#minecraft #crafts #kidscrafts #tutorial #crafttutorial #jewelry #shrinkydinks #keychain


Wednesday, June 11, 2014

Plants vs Zombies DIY Memory Game With Free Printable

Hello,

Plants vs Zombies DIY memory game tutorial. copyright Cassie's Creative Crafts


So my boys have gotten into the cell phone and xbox game, Plants vs Zombies and recently, Plants vs Zombies Garden Warfare on Xbox. The Garden Warfare is completely different than the first game and has better graphics and a whole different goal to the game.

Let me tell you that this game is highly addictive! I have since gotten into the Garden Warfare and it has me hooked! My husband, boys, and I are all playing this game.

What is different about this one is is you can be a plant or a zombie and you control the characters and it is an open toy box world and you fight other people online in multiplayer and level up your characters on plants and zombies and you can customize them as well with various items and I LOVE IT! The only  thing I do not like is how bad it glitches. It does this constantly causing us to lose a whole game and have to sign out and back on. Plus, the loading time in-between the games is ridiculously long! This makes it worse when it comes to being a HUGE time waster! However, I am hooked and don't plan on quitting and finding a cure to my game addiction anytime soon! :)

Since my boys love the game so much, I created a memory/match game in photoshop for them to play with and we played this over and over the first night! They love the memory game and like to race to find the characters they like best. They even learn how to share and trade because if one has a character match the other one wants then they trade. I can't ask for more.

I am not claiming any of these characters as my own. I found each character on the internet and I just wanted to use them as my craft matching game for my boys. If you would like to know where I got a certain picture, feel free to email me and I will be glad to inform you. Also, please don't claim any picture I make here or idea as your own. I also have no affiliation with Popcap (maker of Plants vs Zombies) I am just simply a fan of the game and have 3 other fans in my house!

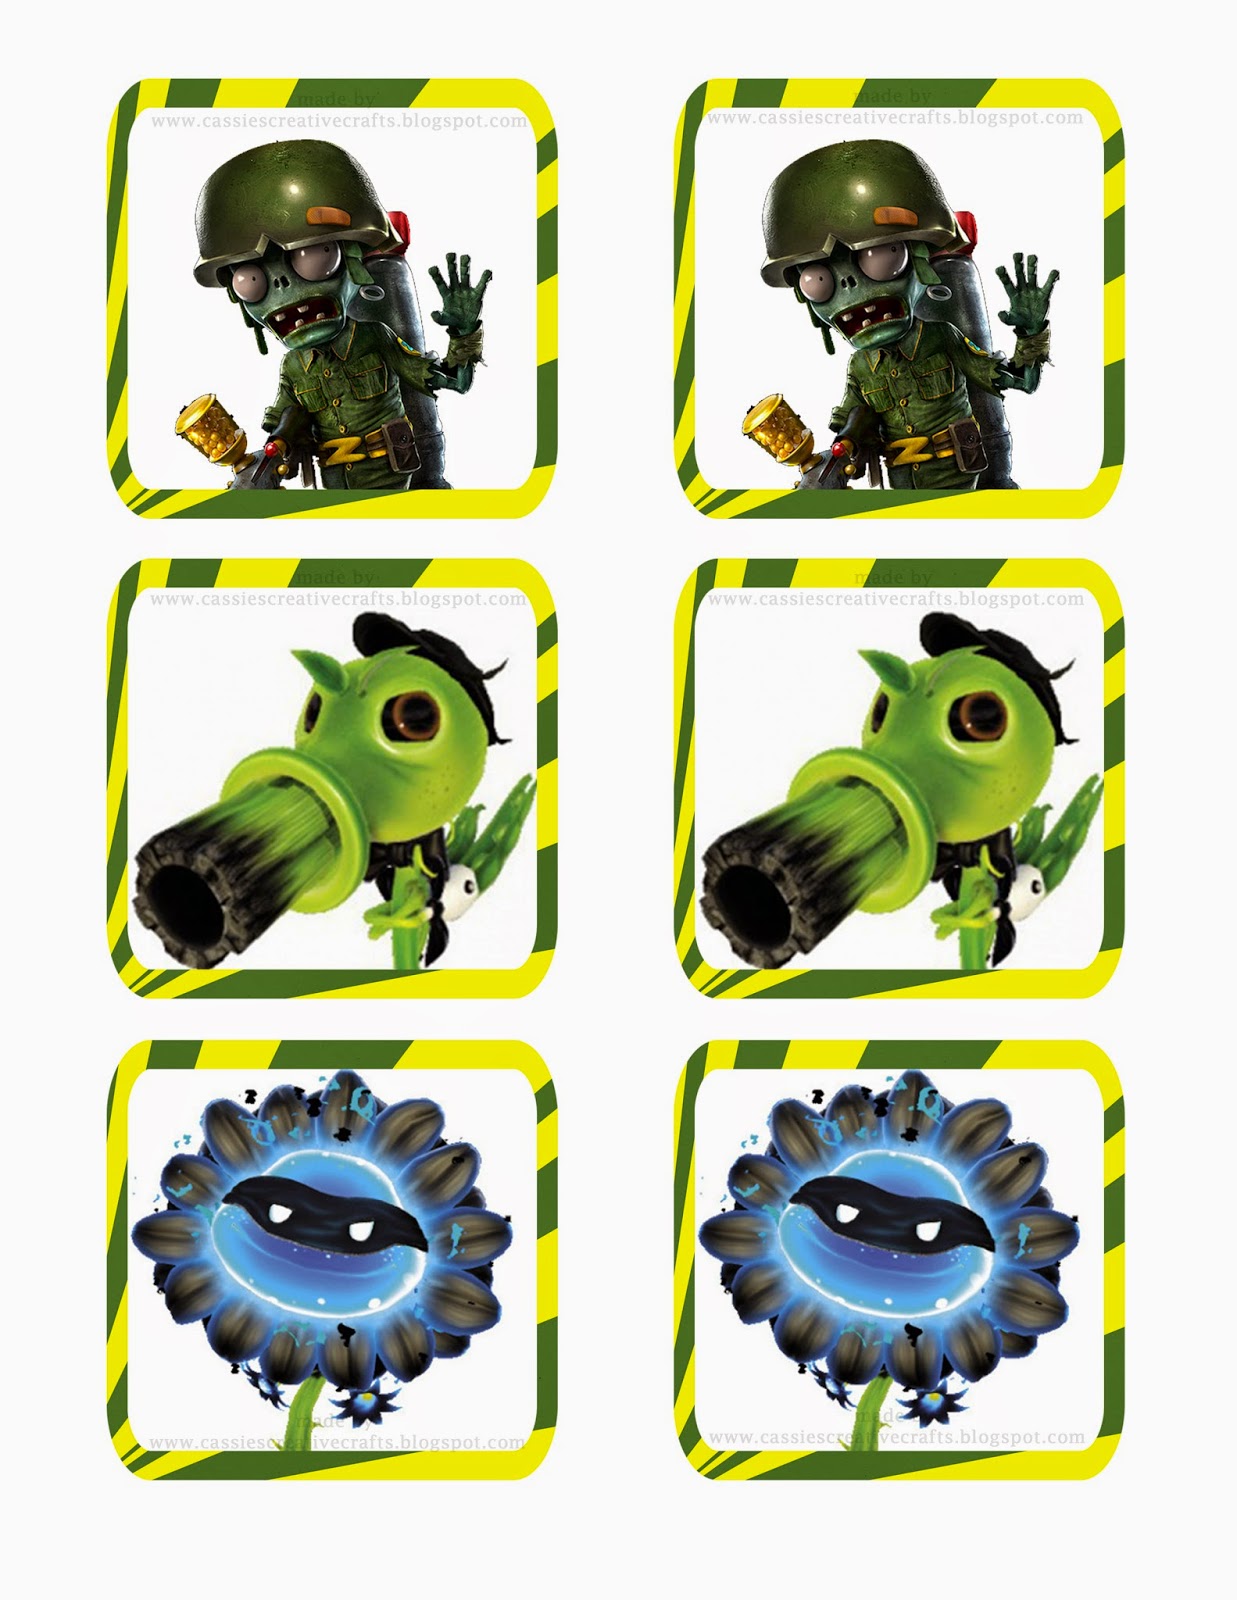
I am sharing with you how I made the memory game and I am also including the actual printable cards I made for you to enjoy! They would be great at a birthday party as a game or as a gift in the goodie bag for the guests to take home! These are not perfect because I just made them for our family to enjoy and thought I would share them with other PVZ lovers if wanted! :)

So here are the pictures of the game after they were cut out...


Plants vs Zombies DIY memory game tutorial. copyright Cassie's Creative Crafts
This is the back of the cards. It is needed so you can't see through the cards with the logo printed copyright Cassie's Creative Crafts.

Plants vs Zombies DIY memory game tutorial. copyright Cassie's Creative Crafts
Here is a picture of some of the characters after I cut them and we were playing! copyright of Cassie's Creative Crafts

First, you need to print them out on thick paper, like card stock. Is will be about 48 matches all together.

To get the PVZ Garden Warfare logo on the back of the cards like in the top picture, I printed all of my matches out first, then pulled up the front cover page with the logo and then fed my paper with the character matches back through my printer but turned them over to print the logo (manually printing it) you have to be careful and make sure you are putting you matches back into the printer the correct way so that the logo prints right side up and not up side down. Note: printing the logo on the back of the cards is a necessary thing because if you don't, then you will be able to see through the cards and then you might have some cheaters!!! lol!

Then, this is OPTIONAL- you can spray a varnish or protectant spray on each of them to protect the ink from running in case it gets wet. If you do this, let it dry for several hours before using. Make sure to spray in a well ventilated room or outside.

Second, after they are printed correctly on BOTH sides and protectant spray is completed, you can now cut them out. I had my kiddos help me. I actually cheated and stacked two pieces together and cut them CAREFULLY out to speed up the cutting process! :) It seemed to work just fine.

Third, you should be ready for lots of fun and playtime with the game! OPTIONAL - you can also laminate each card if you want to make sure they don't get bent and will last longer. I beat my kids once and they whooped me every other time after that! We actually got to laughing so hard playing this game that my cheeks hurt afterwards. Usually my family is very competitive and my oldest started out this way with this game and we had a talk about just play for fun and he did and we had the best laugh! It was priceless!
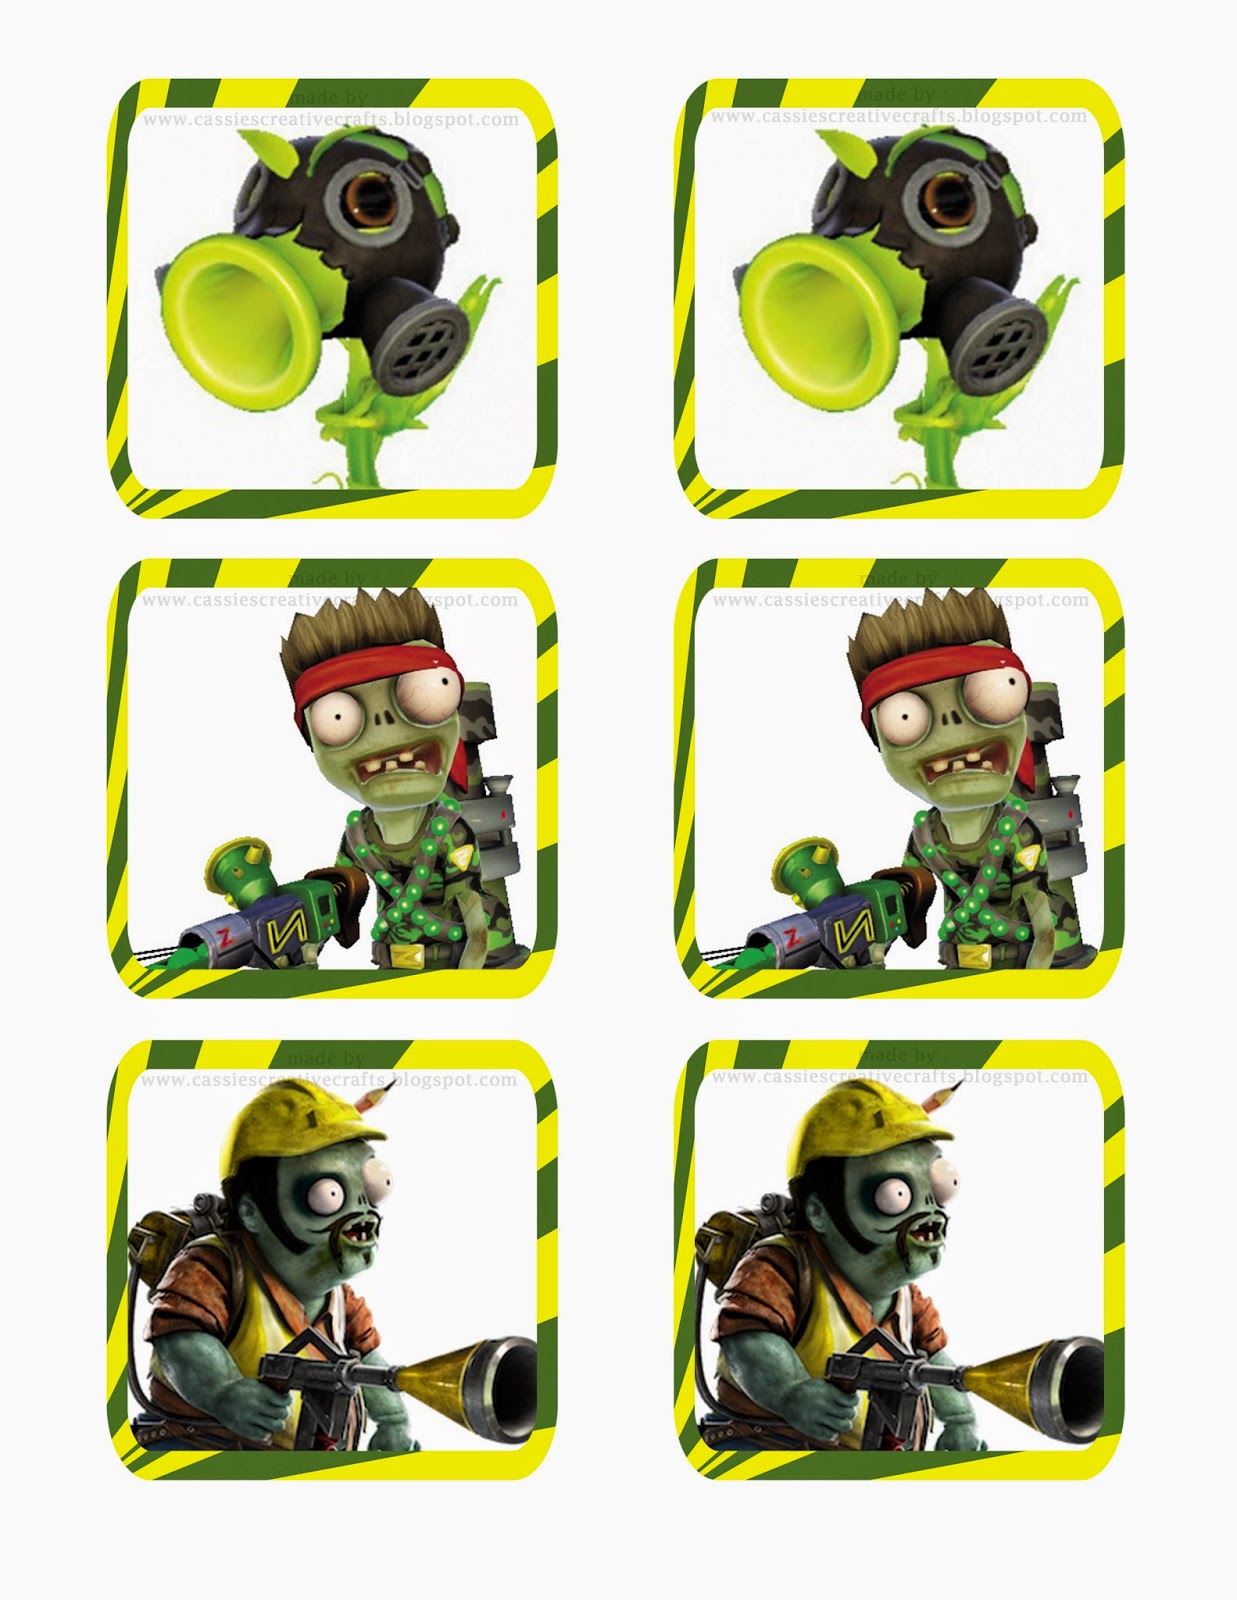
Well, here are the free printable of the game if you would like to print them out yourself. Remember, I worked hard on these and so please do not claim them as your own, do not sell them in any way to make a profit. If you would like to share it with someone else, then please link it back to my blog or send them my blog link. Also, I am not claiming that I made these characters myself, I got them off of the internet and can give you the sources of where I got them if you would like.


Click on the download links below the pictures to download each page...


Plants vs Zombies DIY memory game tutorial. copyright Cassie's Creative Crafts
Download 1st page

Plants vs Zombies DIY memory game tutorial. copyright Cassie's Creative Crafts
Download 2nd page

Plants vs Zombies DIY memory game tutorial. copyright Cassie's Creative Crafts
Download 3rd page

Plants vs Zombies DIY memory game tutorial. copyright Cassie's Creative Crafts
Download 4th page

Plants vs Zombies DIY memory game tutorial. copyright Cassie's Creative Crafts
Download 5th page

Plants vs Zombies DIY memory game tutorial. copyright Cassie's Creative Crafts
Download 6th page

Plants vs Zombies DIY memory game tutorial. copyright Cassie's Creative Crafts
Download 7th page

Plants vs Zombies DIY memory game tutorial. copyright Cassie's Creative Crafts
Download 8th page
Plants vs Zombies DIY memory game tutorial. copyright Cassie's Creative Crafts
Download front page

Remember to print this last page (front page)  and print on the back of the character match pages.

I hope you enjoy these as my family and I have and will for years to come.

Thank you for stopping by!

All rights in this post and every post in this blog are property of Cassie's Creative Crafts.

#plantsvszombies #memorygame #tutorial #DIY #plantsvszombiescraft #crafts #freebie #printable #printie

Saturday, June 7, 2014

Product Review: Plants Vs Zombies Mini-Figure Toy Set

Hello,

This is my first product review and I am doing this to hopefully share and inform others about certain products. The product I'm reviewing is a toy min-figure set that I bought for my 9 year old son because he finished all his chores and saved up his money. Both of my boys absolutely LOVE Plants vs. Zombies game (especially the new one, Garden Warfare). Here is a picture of the product I ordered. The name of the product is:

                                      Plants vs Zombies Mini-Figure Set (6 Figures)


                                                  I ordered it from Amazon.com.

Maker: Popcap (which is the creator of the game itself)
Made in: China
Cost: $19.77
Shipping: This product qualified for Prime membership - so, shipping was FREE!!
Durability: The scuba diver zombie and brown coat zombie are very flimsy and can easily be broken. Neither one of them stand up on their own either. The scuba diver has one flipper off and so he is uneven. The Yeti zombie and plants appear to be more durable.
Realism/quality of characters compared to the game: The characters look like the game and I think they did a fantastic job with that. However, the paint does seem to chip off easy on some of them.

I do wish that they made more of the common characters or at least had more of them in the box. This is the only one I have found with these characters.

Overall, This product has satisfied my boys and they love Plants vs Zombies game and love the characters, I just hate they they are afraid to touch them in fear of breaking them.

I still would recommend them to a Plants vs Zombies lover because of the realism. I wouldn't buy them for a child under 7 unless they don't chew on toys because they will break, chip paint, and can't handle a lot of playtime.

Hope you enjoy them! :)


#plantsvszombies #productreview #toys


Tuesday, March 18, 2014

DIY Minecraft Valentine Cards & Box


Minecraft Valentine Card Tutorial and Printable. Copyright Cassie's Creative Crafts


I know it is kind of late but I figured I would finish what I said I would do and that was to share my boys valentine cards and boxes with you. I have already posted my 9 year old's cards that I made. Those were "My Singing Monsters". Today, I am sharing my other son's cards. We made Minecraft Valentine cards and made a Minecraft grass block Valentine box too that was SUPER easy to make!

Below, I will include the cards I made so that you may download them and use them for yourself.  I made them myself. I am not affiliated with Minecraft at all, my boys just really like the game and so we love to come up with new ideas that we can make or create. Please don't claim these as your own, don't use them to make profit from them. Give credit where credit is deserved. I have all of the resources on where I got the Minecraft characters from and can give them to you if you would like them. I did not make the characters myself but designed everything else. I have other ones that I made but I had to make them short and sweet for his class. So hopefully next year I will have more out.

Minecraft Valentine Card Tutorial and Printable. Copyright Cassie's Creative Crafts
 Copyright Cassie's Creative Crafts


Below is the link to download the cards that I made…

Click here to download


Minecraft Valentine Card Tutorial and Printable. Copyright Cassie's Creative Crafts

The picture of these cards are terrible. I took it at night. Sorry.

I printed the cards out on glossy brochure paper and sprayed it with a varnish or protectant to keep ink from running.

Below is the box we made for his class to put their cards to him in. He LOVED this box and it was so easy to make!

We used a 4x4x4 size box but we probably will use a bigger one next year and then I found a grass block image on google images and cropped it in Photoshop to the size of my box for all 4 sides and the top and then carefully glued it on. I made the grass blocks a bit bigger than my box in case I needed that extra amount.

Then, I cut a hole at the top big enough for the cards to fit in and then cut a small hole and put a binder ring through the hole and then put the lid down so that you can't see the lid until you pull it up but the ring made a great handle to pull the lid up.

My pictures are terrible and they don't do the box or the cards any justice but TRUST ME it all turned out really well! We were so happy with the results and I think your Minecraft lover will too! 

If you have any questions, feel free to ask!

#minecraft #valentinesday #crafts #diy #valentinesdaycrafts

Minecraft Valentine Card Tutorial and Printable. Copyright Cassie's Creative Crafts
Copyright Cassie's Creative Crafts
Minecraft Valentine Card Tutorial and Printable. Copyright Cassie's Creative Crafts
Copyright Cassie's Creative Crafts